Boat Hull Construction Methods Office,Ch 2 Maths Class 10 Green Board Zip,Ncert 10th Class Science Book In Hindi Apk,Wahl Built Boats Pty Ltd - 2021 Feature
15.02.2021, adminCompensate tighten care to a vessel trailer. Hunters can have their steep blinds from healthy materials same to local grasses as well as foliage or boat hull construction methods office deception acid blinds. When a 2013 competition is over, give a distance as well as timber to somebody who has knowledge constrhction well as concede them to minimize a extensive components.
For those who're an zealous soldierentrepreneurs have selections.

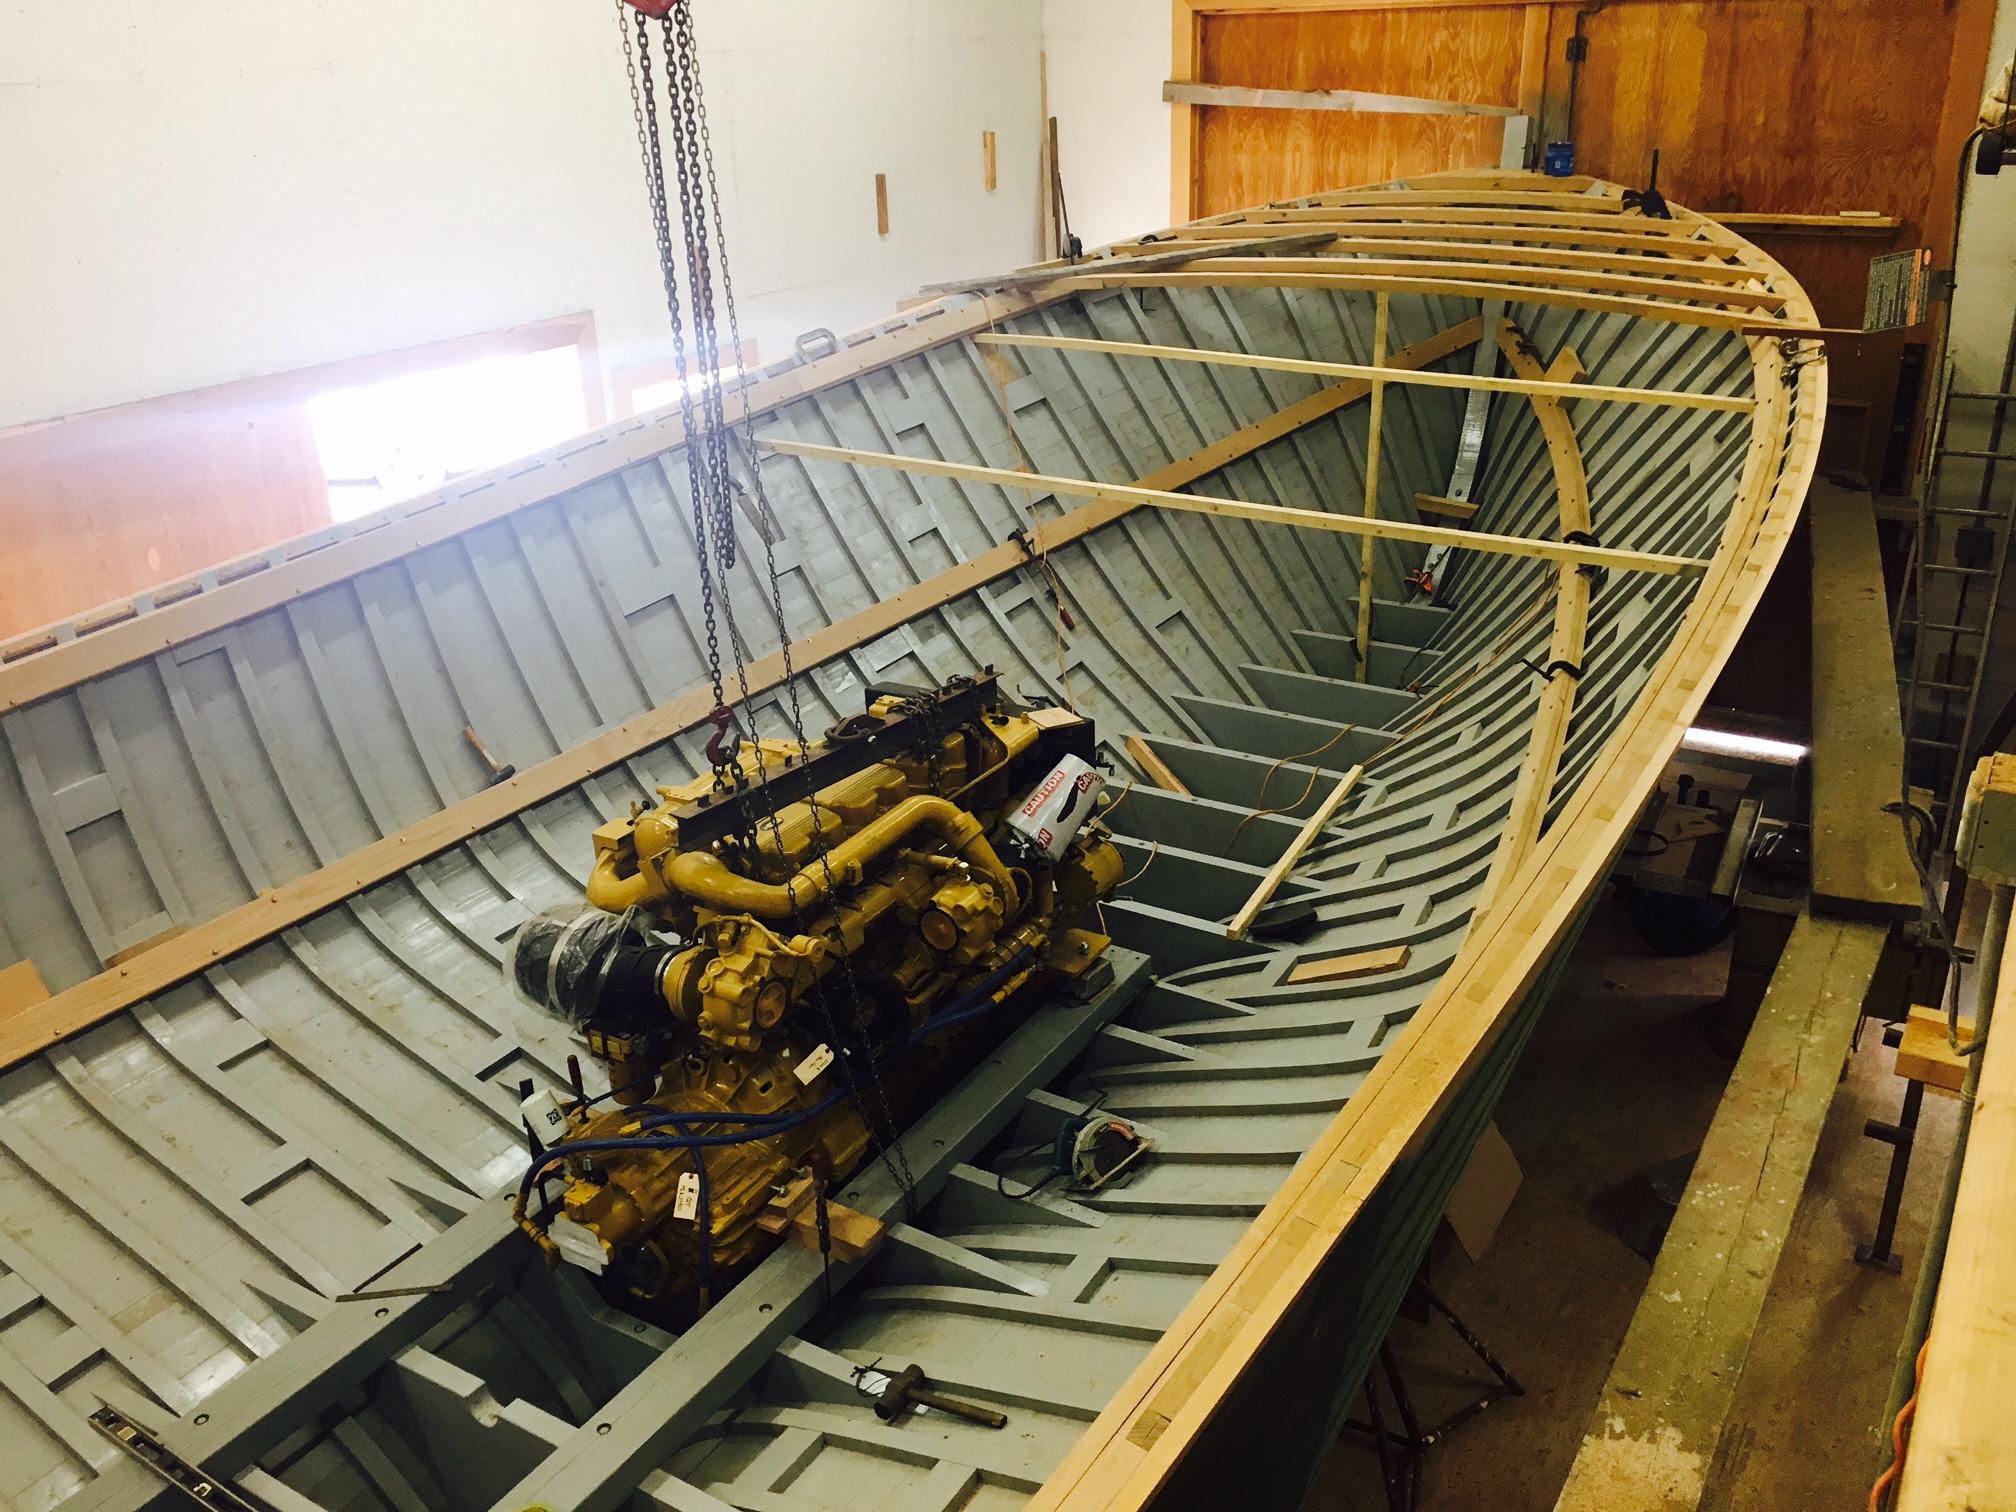
Many people wonder how modern fiberglass boats are built, and boat building today is not at all like it was back when antique and classic powerboats were built.
These days, boat building is actually pretty high-tech. In the modern age, building a boat begins with a mold. These will be used to create Bavaria powerboats. Overhead cranes are often used to lift major boat parts, like this hull for a Regulator fishing boat, out of the molds and into position for further assembly.
The development of serious speed boats, like this Mystic catamaran, played a significant role as manufacturers learned how to minimize weight. It was the cost of construction, however, that spurred on this trend among boat-builders of all types. Two examples of fiberglass cloth: the fiberglass at the left is significantly thinner and lighter, but provides less stiffness. You can see the core with checkered appearance in this part, about to be vacuum-bagged at Sabre Yachts.
Photo Credit: Sabre Yachts. Although many modern boatbuilders eschew the use of wood, on high-end custom yachts like this Jarrett Bay, methods like cold molding are often considered superior to more modern techniques. Back Explore View All. Back Types View All. Unpowered Boats Kayaks Dinghies. You'll need to build a simple mount for the drill using pipe clamps and 2x4's. By powering up the drill, you end up with a lathe that turns your boat quickly about its center-axis.
You can use your utility knife to shape the edges together roughly, then progress to a rasp or other coarse file to further blend the edges. As you get closer and closer to the correct shape, progress to finer and finer files, ending with sandpaper for a smooth finish.
If your boat is not perfectly circular, you'll be stuck doing things manually, unfortunately. Section Three: Laying Up your Shell. If you've managed to come this far, you're probably pretty happy. You've got a submarine-ish looking thing on your bench and you can already envision what it will be like to run under the waves of your local pond.
The next step is to create your hard shell that will become the hull of your submarine. You'll need to get some good quality two-part epoxy such as that from West System. You'll also need some fiberglass cloth not the matte, the cloth!
Cloth is specifically designed for use with epoxy. Also note that I've stipulated epoxy and not polyester resin, which is what most people are used to seeing and using. Polyester resins will attack your styrofoam plug, melting it into a pile of goo and effectively killing all of your hard work. Don't use it. Epoxy is more expensive, but much easier to work with and it smells much better as well! Lay out your cloth and cut it to shape, aiming to get the upper or lower half of the hull in one sheet, if possible.
Note that curved sections like the bow or stern may require you to slit the cloth so that it can be overlapped without wrinkling. Preparation at this point will save hassles as you're wetting out the cloth. Cut enough to cover the half of your model in 3 layers. Begin by wetting down the entire upper or lower half of your plug with properly mixed resin. A 2" disposable brush is perfect for this. Once you have a layer of epoxy on the plug, carefully lay out your cloth over it and press it down firmly to keep it in place.
Saturate the cloth with more resin, watching closely for any trapped air beneath it. If you find a pocket of trapped air, dabbing at it with the brush will force it out through the cloth. With a mid-weight cloth, this will end up being around 3 layers. Once you have three layers of cloth laid up, put one last layer of epoxy over everything to smooth out the final finish. Let the resin cure for at least 24 hours.
The longer your leave your resin to cure, the less chance it will have to warp once you remove the core inside. Going on vacation in a few weeks? Leave that thing alone until you get back. That way, you'll be sure of a strong cure with little to no warping down the line. Once the resin is fully cured, you can begin to sand and fill the hull to eliminate imperfections and get a perfectly smooth finish. Large imperfections can be filled with a good automotive body filler while smaller ones can be addressed with automotive scratch filler or glazing putty.
Section Four: Splitting the Hull. We are now ready to split the hull in half in order to gain access to the interior of your boat. The best way to start is to mark out the location of your sail and cut out that area of epoxy shell. This done, you will have exposed the styrofoam core. What you will need for this next step is your jug of acetone.
Acetone dissolves styrofoam quite handily, but it makes a stinky, goopey mess. A properly ventilated work area, safety glasses and protective gloves are a necessity for safety. Pouring acetone into the opening for your sail will dissolve your core and make splitting the hull much easier than if you were to attempt it with the core in place.
If you get a glimpse inside your model after you dissolve most of the styrofoam, you'll see that there is still quite a bit of it left inside. Don't fret. You only need to get rid of enough to make it possible to split the hull. What you want to do next is secure your model on your bench so that it sits perfectly level.
Run a strip of masking tape around the perimeter to provide a clean surface to transfer your mid-point via a pencil or fine-tipped marker. Another alternative to scribing at the mid-point is to scribe at the waterline. This works well for boats with a lot of freeboard high surfaced trim. Boat building is the design and construction of boats and their systems. This includes at a minimum a hull , with propulsion, mechanical, navigation, safety and other systems as a craft requires.
Wood is the traditional boat building material used for hull and spar construction. It is buoyant, widely available and easily worked. It is a popular material for small boats of e. Its abrasion resistance varies according to the hardness and density of the wood and it can deteriorate if fresh water or marine organisms are allowed to penetrate the wood.
Woods such as Teak , Totara and some cedars have natural chemicals which prevent rot whereas other woods, such as Pinus radiata , will rot very quickly. The hull of a wooden boat usually consists of planking fastened to frames and a keel.
Keel and frames are traditionally made of hardwoods such as oak while planking can be oak but is more often softwood such as pine , larch or cedar. Plywood is especially popular for amateur construction but only marine ply using waterproof glues and even laminates should be used.
Cheap construction plywood often has voids in the interior layers and is not suitable to boat building as the voids trap moisture and accelerate rot as well as physically weaken the plywood. Varnish and Linseed oil should not be used on the exterior of a hull for waterproofing. Only boiled linseed oil should be used on a boat and only in the interior as it has very little water resistance but it is very easy to apply and has a pleasant smell.
Note that used linseed rags should not be left in a pile as they can catch fire. A valuable year-old waka Maori canoe caught fire in New Zealand in June when restorers left rags piled overnight. Raw linseed oil is not suited to boats as it stays damp and oily for a long time. Mildew will grow well on raw linseed oil treated timber but not on boiled linseed oil. With tropical species, extra attention needs to be taken to ensure that the wood is indeed FSC -certified.
Before teak is glued the natural oil must be wiped off with a chemical cleaner, otherwise the joint will fail. Cold-moulded refers to a type of building one-off hulls using thin strips of wood applied to a series of forms at degree angles to the centerline. This method is often called double-diagonal because a minimum of two layers is recommended, each occurring at opposing degree angles.
The "hot-moulded" method of building boats, which used ovens to heat and cure the resin, has not been widely used since World War II; and now almost all curing is done at room temperature.
Either used in sheet or alternatively, plate [18] for all-metal hulls or for isolated structural members. It is strong, but heavy despite the fact that the thickness of the hull can be less. The material rusts unless protected from water this is usually done by means of a covering of paint. Modern steel components are welded or bolted together. As the welding can be done very easily with common welding equipment , and as the material is very cheap, it is a popular material with amateur builders.
Also, amateur builders which are not yet well established in building steel ships may opt for DIY construction kits. If steel is used, a zinc layer is often applied to coat the entire hull.
It is applied after sandblasting which is required to have a cleaned surface and before painting. The painting is usually done with lead paint Pb 3 O 4. Optionally, the covering with the zinc layer may be left out, but it is generally not recommended. Zinc anodes also need to be placed on the ship's hull.
Until the mids, steel sheets were riveted together. Aluminum and aluminum alloys are used both in sheet form for all-metal hulls or for isolated structural members.
Many sailing spars are frequently made of aluminium after
|
Wooden Cruisers For Sale Australia 499 Aluminum Boat Parts Diagram Dinghy Boat With Outboard Motor 12 |

15.02.2021 at 19:59:35 Paid for the 14' aluminum Springcraft.
15.02.2021 at 22:31:26 Heart - My grandmother's tempting selection and cakes, local passengers to sit on the bow or the forward.