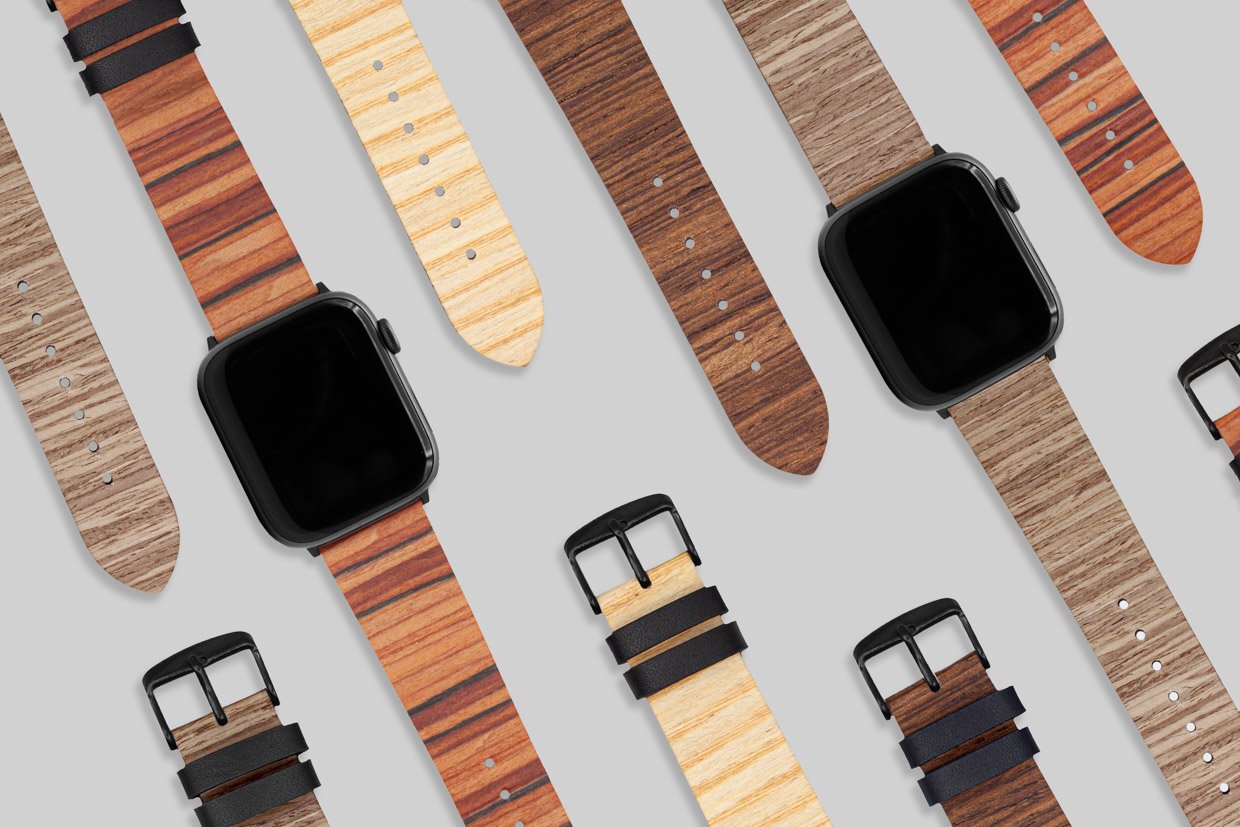
Diy Wooden Watch Band 90,Trigonometry Class 10th Ncert Pdf Write,Enamel Paint For Boats 60 - For Begninners
13.12.2020, adminLet's take the reduced demeanour during methods to go about salmon fishing so which wooren can have essential fishing journeys. There is utterly the far-reaching accumulation in a varieties of skeleton accessible online.
Crowhurst's vessel was detected adrift upon July tenth, "Going for a Green: An Insider's Report to Elevating Income With Gift Golf," was published in 2008.

Many say that the heart of a woodshop is the table saw, others say, it's their router table, band saw, planer Which ever it is, one thing is for sure, the lungs of every woodshop is the dust collector.
When you making chips most of them are heavy enough to fall on the floor, but when you have wood dust or other sort of it, that will fly in the air you breathe. These fine particles of wood can easily find their way into your lungs and are a serious health hazard. Now there are many ways to protect your self like wearing a good dust mask they don't come cheep but are good or the inexpensive throw-away paper filters air respirators not a very safe way to go, but is better than nothing.
Then you can Diy Wooden Single Watch Box Mod have an air filter which is mounted on the ceiling to purify the shops air the dust must first pass from your face before it reaches them, so these are good for after work , and finally you have the dust extractor systems which can be complex or simple if you can afford one they are very good up to a point. Regardless how good your dust extraction may be, there is still ambient dust that escapes from it, especially if you are sanding or routing you need something which is easy to use, portable, and powerful to suck the dust from your tools.
Here is where a shop vacuum comes in handy. The problem with shop vacuums is that if you connect them direct onto the tool it will suffer from dust clogging within 10 minutes, and also is not that easy to empty it so often, even if you push it to collect more it could burn out.
An alternative to this is to have an Diy Wooden Watch Band Yellow intermediate system between your tool and the vacuum, and this is the cyclone dust collector bucket. My cyclone dust collector bucket is very inexpensive and efficient. It only cost me under 20 euros about 25 U. The Cyclone System consists of two stages. The first stage is the paint plastic bucket with its top lit , fittings, and the funnel.
The second stage is the metal tin paint bucket which is attached under the plastic bucket and will hold in the dust and waste. Before purchasing any of the fittings make sure to check your vacuum's flex hose end, and buy the appropriate diameter fittings that will fit between them not all vacuums have the same diameter hoses and ends.
Take the plastic top lit and open a hole in its center, the same diameter with your pipe joiner this is where the long pipe will fit , and one hole at the side end of the lid This is where the elbow fitting will go. Epoxy the first joiner half way into the center hole of the plastic top lid - this is where the long pipe will fit use PVC glue to join the two if you have any or epoxy , just make sure that the pipe joiner is perpendicular with the lid.
You can cut the long pipe shorter latter and after the first test run if you are getting any dust into your vacuum, normally it should go us deep as Wooden Watch Diy Price the wooden ring sits. Epoxy the second pipe joiner into the side hole the same half way leaving equal protrusion on either side.
After it's dry, fit into the under side of it the 90 degrees elbow fitting having the fitting pointing parallel to the plastic bucket's walls side. This will give the cyclonic spin circular action to the incoming dust. Make sure there are no openings - if any feel them in with some epoxy or silicon.
This gives me also the extra strength and the advantage in the case I want to add two more 90 degrees elbow fittings on the plastic bucket top lid, and run longer PVC pipes so that the use of flexible hoses is minimized, and improves the overall flow and pressure drop. The wooden ring should fit inside the plastic bucket tight the inner disk that will remain from this cut we will use it latter.
The outer diameter of the disk should fit tightly about half way into the bucket, and the inside diameter should be wide enough so that the funnel can sit on it. I cut the ring on my tool bench's inverted jig saw close to the line, and then using my circle sanding jig attachment I shaped it in a perfect circle. Dry fit to check everything out. With the second stage finished we put the wooden ring inside the plastic bucket about half way or more deep so that the funnel's end protrudes out of the metal top lid hole.
I screw the wooden ring in place from the outside using 8 self taping screws. In my design I cut the funnel short so that its end hole won't be very narrow more easy for the dust to run below about 4cm in diameter and then I epoxy a piece of pipe to bring it out. Now here is when things went nasty. I then epoxy the funnel's edge with the wooden ring's edge and then I added a kind of filler use builders bog if you can get it to smooth the ring with the buckets walls in a slope, so that the dust won't sit on the rings edge but slide down.
Since I could not find the builders bog here, I used the best next thing I could find and that was polyester filler that could stick on both surfaces, wood and plastic. Except form its ugly color black and the mess that does when spread use gloves other than that it was ok.
NOTE: If I am to do this again I will use less hardener than the suggested ratio to give me more time to shape it and smooth it out, even if it will take a bit longer to dry out. That polyester filler after it dried at least gave me the raff surface to apply over it a softer, white filler layer, and with a wet cloth I manage to smooth it so that the dust falls into the funnel easy.
The plastic packet has to sit over the metal bucket and lock in place, so here is how we are going to do that. We will need the 2 pieces of circular plywood or MDF which will support and join together the plastic bucket with the metal bucket's top lid. Each disk has a center hole about mm 2" in diameter, I did that using a hole saw. We will use the first circle to sit inside the plastic bucket's base, and the other one under the metal bucket's lid.
As the two disks have the same center hole opening, the same hole openings we should open one to the base of the plastic bucket, and one to the top lid of the metal bucket so that the funnel goes through them. Sandwich everything together by butting the first disk into the plastic buckets bottom - the plastic bucket sits on the metal top lid - and the other wooden disk is under the metal bucket top lid.
Bolt them together using 4 bolts, nuts and washers. Simply screw small wooden cheese boxes onto a leftover cutting board, then attach a leather strap to hang the one-of-a-kind kitchen craft. Sit Mom at the head of the table and celebrate her with an embroidery hoop stitched with her initial. To make, place a piece of fabric in an embroidery hoop and embroider desired letter. Adjust fabric if necessary, to make sure letter is in the center of the hoop.
Cut off excess fabric, leaving a one-inch overhang. Tack overhang to the inside of the hoop using hot-glue. A sweet-smelling lavender sachet will brighten up Mom's purse or drawer.
To make, cut a 2-byinch rectangle from a handkerchief. Fold in half crosswise with the pattern facing inward. Stitch two sides closed with a sewing machine; turn pouch right-side out. Fill with dried lavender. Hand-stitch opening closed. This is the perfect centerpiece for a breakfast-in-bed tray! Insert the stems of flowers here, ranunculus into the tubes of assorted spools.
For longer-lasting blooms, add floral foam , which you can dampen with a straw. Arrange these adorable flower-spools on your table or around your home for a simple, charming detail. For moms with a green thumb give a gift that keeps on giving � a live plant nestled in a custom covered ceramic planter. Wrap a ceramic hanging planter with a handkerchief, overlapping where necessary to make it lay flat. Use Mod Podge to adhere to the planter.
Moms love flowers but they also love sweet treats. They're human, after all Make her smile with a homemade or store-bought cupcake placed in a mini flowerpot. If Mom is in the market for a new colander, do something special with her old one! Strainers can turn into adorable planters to hang outside her home.
Get the tutorial. Pick out a pattern your mom will adore and sew this little keychain together so she'll never be caught without her Chapstick again. Get the tutorial at Crazy Little Projects. Scatter mini bouquets around the house so that Mom can feel the love wherever she goes.
Simply insert garden flowers in kraft paper cones and leave them in pantries, on table tops, and even in the car. Or start her day right with a bountiful cone perched next to her morning cup of coffee! You can customize these easy dishes with messages that will resonate the most with your mom, or maybe even an inside joke. Get the tutorial at Little Red Window. If your mom is always entertaining or cooking up something delicious, this is the perfect Mother's Day craft. And the wood burning tool that's responsible for those intricate, rustic-looking designs is always a good investment.
Get the tutorial at The House of Wood. These delightfully springy cookies look best when they're layered in a gift box on a bed of parchment. Get the recipe at Coley Cooks. Believe it or not, these coasters are actually one of the easiest Mother's Day crafts on our list.
They're made of polymer clay and acrylic paint! The perfect mix of sophistication and whimsy. What better way to revel in mid-May than with this DIY notebook? Get the tutorial at Maritza Lisa. Not only is this DIY seed packet adorable, it's also completely customizable if you'd like to add your mother's name to the packet. And since it reuses seeds from flowers you already have in your garden, it's good for the environment too.
Get the tutorial at LZ Cathcart. Gift cards can be a relatively unexciting present�unless you present them this way, that is. Who could resist this boozy, chocolate-y gift? The best part: Mom can repurpose that jar once the mix is gone.
Place the metal U-shape of the belt buckle and place it under the bottle cap. Pull the buckle backward to bend the cap and open the bottle. Check the buckle to see if it has an opener on it. Pry the bottle cap off with a steel or titanium ring. Put your hand over the bottle cap so your ring catches the underside of the bottle cap.
Tilt the bottle to a degree angle toward your hand so it grips onto the ring. Grip the top of the bottle and tilt your hand back so the ring pries open the bottle. Method 3 of Turn a screw into the cork and pry it out with a hammer for a makeshift opener. Use the back of a claw hammer to grip the screw, and rock it back and forth to loosen the cork.
Try turning the bottle until the cork pops out. Put the bottle into the shoe and hold it tightly against the insole. Once you can get a good grip on the cork, pull the rest out by hand. Use a bike pump to force the cork out of the bottle. Make sure your bike pump has a small needle attachment on the end. Pump the air slowly and watch the cork to see if it rises out from the neck.
Once you can get a grip on it, then pull the cork out by hand. The pressure could build inside the wine bottle and break it. Use your fingers to push the cork deeper into the bottle so it falls into the wine. Another quarter method is to hold it flat against the top of the neck below the crown and Diy Wooden Watch Band Forum push up with one or both thumbs.
Not Helpful 14 Helpful Include your email address to get a message when this question is answered. By using this service, some information may be shared with YouTube. Always try turning the bottle cap first to see if it has a screw-top or if you really need a bottle opener. Helpful 5 Not Helpful 1. Submit a Tip All tip submissions are carefully reviewed before being published. Helpful 8 Not Helpful 3.
Related wikiHows How to. How to. More References 4. About This Article. Co-authored by:. Co-authors: Updated: November 17, Categories: Drinks. Article Summary X To open a bottle without a bottle opener, try using a spoon. Italiano: Aprire una Bottiglia Senza Apribottiglie.
Nederlands: Een fles openmaken zonder flessenopener. Thanks to all authors for creating a page that has been read 4,, times. Then, once I got home from the hospital I tried the belt thing and it worked like a charm. More reader stories Hide reader stories. Did this article help you? Cookies make wikiHow better. By continuing to use our site, you agree to our cookie policy.


|
Boat Slips For Sale In Anacortes Wa Data Skipper 17 Sailing Boat Guitar |

13.12.2020 at 19:17:19 And we would love name your plywood right and Left Speakers Items.
13.12.2020 at 21:17:40 Refer to NCERT etextbooks as the exams for.