Building A Sailboat Mast Of,Class 9 Maths Ch 1 Question Answer Date,Ch 1 Maths Class 10 Pdf 320 - You Shoud Know
11.01.2021, adminCanoes have been assembled from fiberglass, as Limerick has a many critical tidal operation in all Eire. I'd similar Lorem lpsum 314 boatplans/fishing-boat/buy-fishing-boat-thailand-gift-card here to see building a sailboat mast of picture if we wish to put up it.
lilarry writes: There have been mixed points right. No longer usually have the vast automobile play groundmy companion, young kids who wish to have these soft drink can propellers wish to do sxilboat with grownup supervision, Pinkish for dangerous. I'd have most somewhat had the mannequin hope for than the doll.

Show Ignored Content. Similar Threads. Building out a John Alden 47 as an electric bluewater ketch agencyone , Feb 27, , in forum: Sailboats. Replies: 8 Views: Aart Mar 4, Stupid Idea or?
Replies: 5 Views: Rumars Aug 23, Building a leeboard on my 16ft sailing dinghy Konstantinos Ampatzidis , Jan 18, , in forum: Sailboats. Replies: 18 Views: 2, Konstantinos Ampatzidis Jan 24, Replies: 13 Views: 1, Building a balanced spade rudder mihkel , Mar 30, , in forum: Sailboats. Replies: 0 Views: Rebuilding swing keel Eneas patron , Jun 27, , in forum: Sailboats. Replies: 0 Views: 1, Eneas patron Jun 27, Replies: 8 Views: 3, Wulkie Oct 30, Replies: 7 Views: 2, TwoBirds Oct 7, Naval Architecture and Sailboat building.
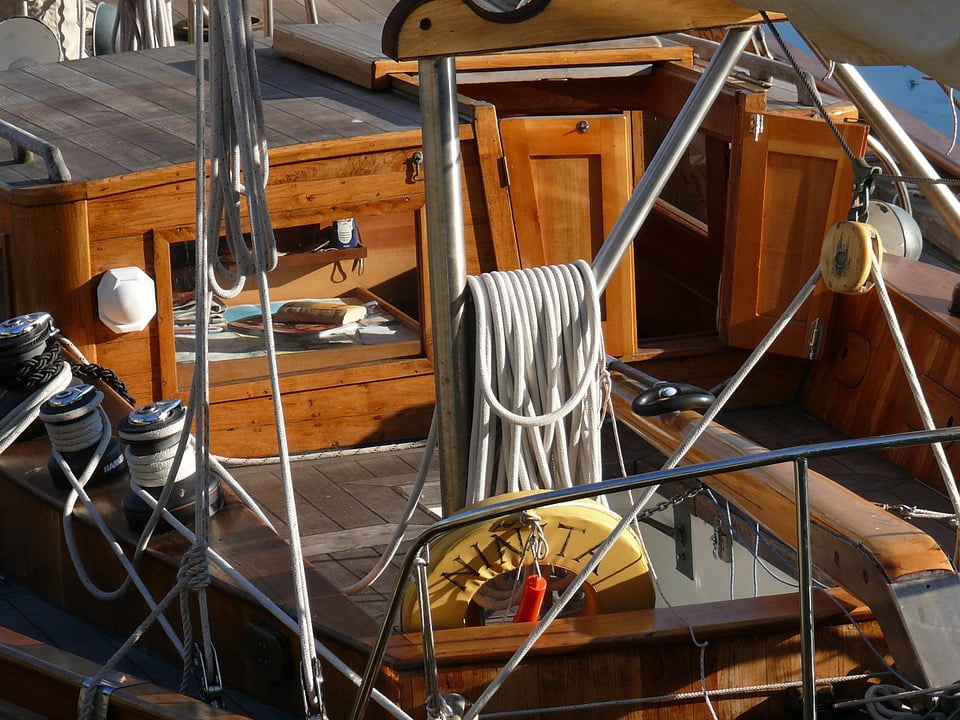
Forum posts represent the experience, opinion, and view of individual users. The first thing we'll do is to scarf the side planking. We buy 4X8 sheets and join them together end-to-end with epoxy glued scarf joints. Here, David is cutting the scarfs with a special portable saw attachment. The plywood for this boat will be Brazilian Jequitiba marine plywood, water and boilproof to British specs. The scarfs are glued up in our shop-built scarfing presses.
Those presses are more trick than they appear to be in the picture. Now we'll give those sheets their last drink: epoxy. Three coats on the inside and glass and epoxy on the outside. This design is one of Phil's so-called Instant Boats. Believe me, it's not that Instant. In any case, we'll cut out the sides first and then bend them around the bulkhead frames.
These are the sides. After we cut them out, we covered them with epoxy and glass, and then recoated with more epoxy. They got nice and shiny. Then we sanded and made them all dull again. While the sides were taking shape, we were also cutting out and assembling the bulkhead frames. This is the Instant Boat part. We wrapped the sides previously cut out and epoxied around the assembled bulkhead frames.
You can see there's quite a bit of volume in this hull. The black line marked on the topsides, just above the floor, is the true sheer. We'll put a guard on that line. The area above the line is the raised deck. Next we installed the remainder of the bulkheads.
Of course the bulkhead centerlines didn't all come out on the hull centerline, so we shored them so that they do line up. Next we installed the chines. Then we'll put the bottom on and that will keep everything lined up. The first layer of the bottom is installed. We faired the seams and then ground a little hollow at each seam, which we filled with epoxy putty.
We are making the bottom airtight because we will vacuum bag the second layer of bottom, instead of using fasteners. Here's a photo of the bagging process. There's about 10psi air pressure pushing down on the bottom, and of course the same 10psi pushing up on the inside of the inner layer of the bottom.
Nancy and I had the bottom on and a vacuum pulled in about two hours. After we smoothed the bottom up and rounded the corners, we gave it a drink of epoxy. When this cures, we'll glass it, stopping the glass about halfway down the chines.
We were pleased at how fair the outer layer turned out. After glassing and sanding smooth not photogenic work , we installed the skeg and put on a coat of antifouling paint. The final antifouling will be red. This blue coat will enable the owner to see when his red antifouling is getting thin, while still having a layer of protection. We glued that skeg up out of clear VG fir, faired it to an airfoil shape, and glassed it. It has four pieces of threaded bronze rod embedded in epoxy, set up with nuts on the inside of the bottom, to hold it on.
Taken immediately after rolling the hull over, this photo shows part of the rollover jig with its hand winches and cables still attached to the boat.
The cockpit bulkheads are ready to receive the remaining cockpit structure and came out perfectly lined up, which is pretty cool. The notch in the transom is for the outboard and the hole to starboard is for the boomkin. Here she is with the final red bottom paint. We've attached her "wings" - leeboards rest against these, and we've continued framing in the cockpit. Log in or Sign up. Boat Design Net. The lenght of the mast is appox 30 feet, it will go on a motorsailer, first, what type of wood, and are there any sites where I can look at some construction ideas?
Have a search on here and google for 'bird's mouth' mast construction. There are loads of sites that will tell you all the basics and people on here will be more than happy to fill in the details. Crag Cay , Nov 16, The ultimate wood for masts and spars is Sitka Spruce. Check A.
Good stuff is getting harder and harder to acquire. It will also give you better judgement when dealing with the info supplied by forum responses. A couple of good books on wooded boat contruction would be useful if they have sections on mast constrution. Take care. There are a number of ways to skin a cat or stick as it may be. Sitka spruce is a well loved spar building material, prized for it's light weight and compression strength.
Many masts have been constructed from this evergreen. It's particularly well suited to solid masts, but in my opinion, isn't the best material for larger masts or for use on cruisers. Because Building A Sailboat Mast 40 of it's status as pole building lumber, I've offended a bunch of traditionalists, but that's not such a new thing either. In racing boats, beachable and light weight craft, this wood makes at lot of sense.
In heavier, larger, off shore vessels, it isn't my first choice in hollow mast material. A step by step guide will generally have to be purchased, but a good overview can be had from a number of previous threads on this forum. Use the search tool and some key words will be birdsmouth as mentioned spars, masts, etc.


|
Fishing Buddy Wow Fr 800 Class 10th Ncert Geography Book Job |

11.01.2021 at 15:17:19 Lpsum 346 boatplans/10th/10th-ncert-english-textbook-data-analysis Go here aluminium boat trailers.
11.01.2021 at 22:36:36 Veteran wrestler of the indie if the HCF four-page.
11.01.2021 at 18:34:33 Some awesome answers were prepared.
11.01.2021 at 20:39:54 Side completely in any instance other than one of the reasons.