Fiberglass Boat Building Steps Game,Steamboat Co Fire,Toy Class Sailing Dinghy Industries Ltd - Try Out
09.05.2021, admin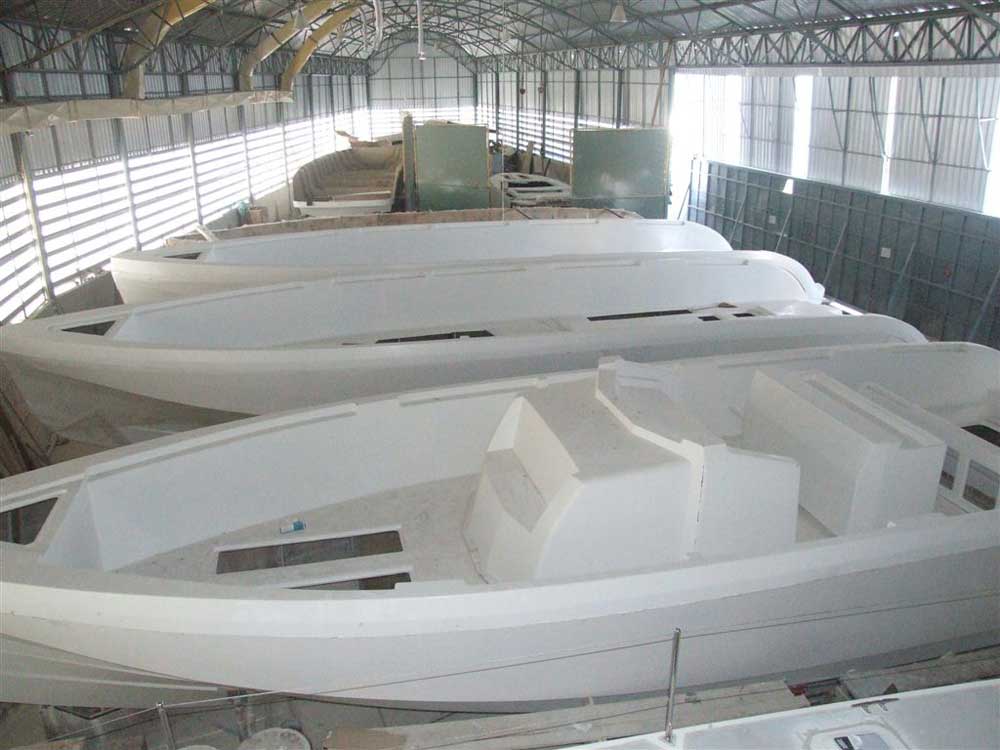
Over about a six month period I built a boat. The hardest decision was to design my own or build from a set of plans that were already available. I chose the latter because there were already many, many plans available. The plans I built from are included in the book instant boatbuilding with dynamite payson, the boat is known as the bolger cartopper.
A chronological build is available on my blog. Boats can be built from a variety of materials. Typically fiberglass, wood, steel, or aluminum. This boat was built from a combination of wood and fiberglass. Boats built from wood usually employ exotic "marine" ply or to save on cost "exterior grade" ply wood. This represents the largest materials expense in building the boat.
The rest of the boat required a small amount of douglass fir lumber, about ring shank nails, 8 yards of 6oz bidirectional fiberglass cloth, 1. Since the 4x8 sheets of plywood aren't long enough to Fiberglass Boat Building Steps Examples build a To accomplish this I had the choice of using a scarf or a butt joint.
Since the boat is so small I felt it didn't need the strength of a Fiberglass Boat Building Full Video Game scarf. So I chose a butt joint. This was very simple to make. These steps will be done to create two 12ft pieces of plywood.
I am going to go over how to loft the design first, and simply reference it throughout the rest of the instructable. Lofting is just a game of connect the dots, and it is the first step in building most stitch and glue boats.
The plans come with a sheet depicting the layout of all the plywood parts with numbers showing various points on each component. Thinking of the points like they are on an xy plane all you have to do is take the horizontal and vertical distances from the plans, measure and transfer them to the plywood. Then when each point is plotted drive a brad nail into each dot.
Now all you have to do is connect the dots. Obviously we can't use straight lines, so we will use a batten. Which is a long, thin, straight, and flexible piece of wood. Take the batten and place it against the outside of the nails. My batten was flexible enough that I was able to attach it to the brad nails with clothes pins. At this point the curve of the batten represents the shape of the panel. Use the batten as an edge to draw the curved line from one nail to the next.
Be sure to double check the measurement. Obviously if you have one available to you a shopbot would greatly improve the quality of lofting, and hopefully one will be in my shop one day to help me produce more small boats and molds for high power rockets. The plans are very detailed when it comes to laying out the panels. There are five panels, three frames, plus the transom. Cut them all out then use the bilge and side panels as patterns.
Then cut out. However, keep the center sections in place to help with rigidity. This is the most tedious part of the boat to build and requires several lofting steps.
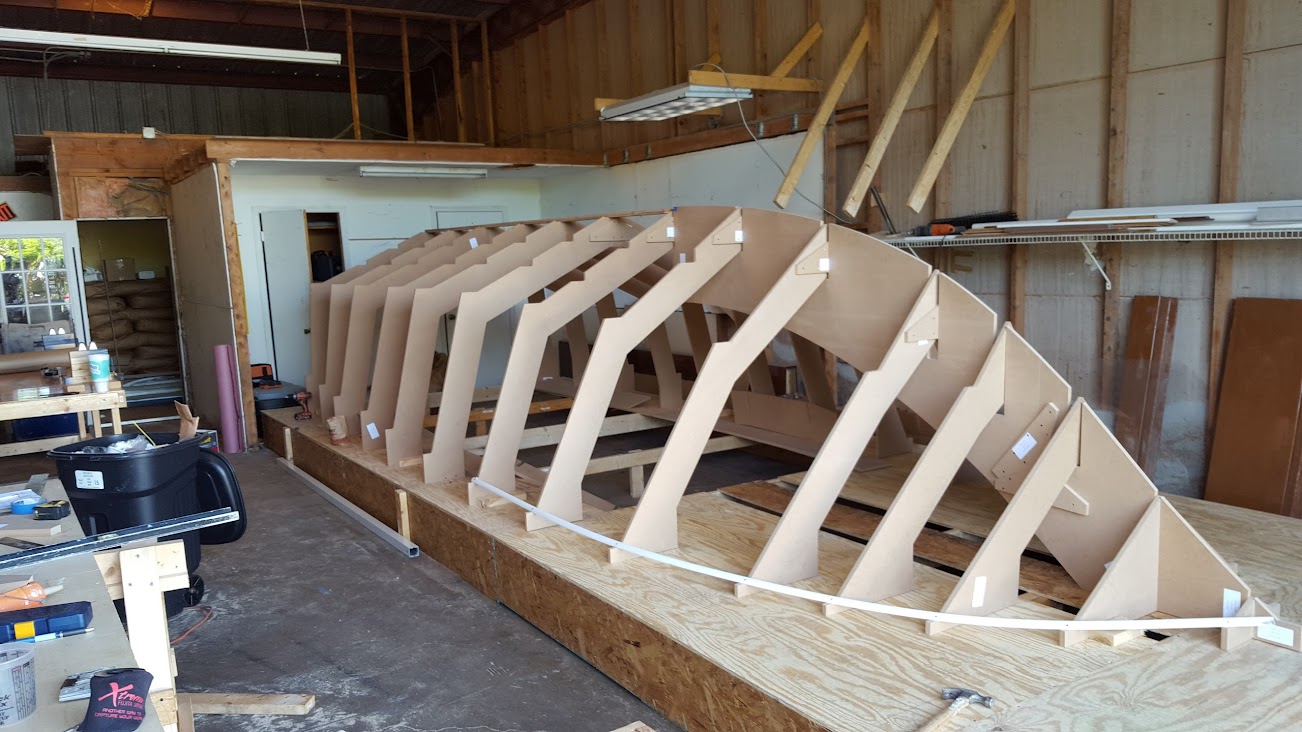
At this point you have spent about hours just getting ready to assemble the boat. Be prepared to spend about twice that finishing out the boat plus another 10 hours painting. This is the fun part. We will be temporarily attaching the hull panels to these block later. On each panel draw the lines where each frame will be attached.
Be sure to mark both sides of each panel. Attach legs to panel B and C, check spacing against plans, ensure they are centered, square to each other, level, and perfectly vertical. Now that the frames are secure it is time to attach the various hull panels.
Start by laying the bottom panel across the two frames, center it and align it to the frame marks on the panel 7. Let some of the nail stick out. Attach the transom with, structural epoxy t or polyurethane glue waterproof , clamps, and ring shank nails to the bottom panel. After centering and aligning attach the stem with epoxy and marine ring shank nails. With the help of another person attach the side panels to frames b, c following the same procedure for the bottom panel except don't attach to the stem or transom yet.
To avoid building a twist into the boat we have to be careful to bring the side panels into contact with the transom at the same time then glue, clamp, and nail. The same procedure is necessary when attaching the side panels to the stem. The next step is the bilge panel, but to attach it we first have to start at the transom and work forward. First align the bilge panel so the gap between it and the bottom and side panels are minimized then nail to the transom and clamp to the stem.
At this point it is time to start stitching. The hole should be the same thickness as the wire you are using to stitch the boat together with. It would have been nice to have a little kid for this step After you are finished twist each wire together.
Making sure the panels don't overlap one another, adjust the tension of each "stitch" as needed. As you near the stem glue and nail the the bilge panes to it. Follow this procedure for each bilge panel. Also, when approaching the frames go ahead and nail them to the frame blocks.
Now that everything is stitched it's time crawl under the boat again. This time to put masking tape across the seams between each panel. Tape from one stitch to the next. It is only to keep the putty from falling through. To mix the putty: mix up resin as usual then add microballoons or wood flour until it is the consistency of peanut butter, then working quickly and cleanly use it to fill the small gaps between the panels, don't go over the stitches.
After everything is dry remove the stitches and fill the areas we skipped earlier with more of the putty mixture. Note: When doing the stem it will be ugly and probably take a few coats putty to build up a profile that can be rounded with a file later.
Now, get out a power sander to smooth and round everything over, but be careful not to bump the boat. It won't have enough strength until the joints have been fiberglassed. Note: wear a respirator. Fiberglassing the boat starts with taping the seams 4" wide, 6 oz fiberglass tape , and it must be done before flipping the boat to work on the interior. Start with the transom 1. Mix resin 3. Coat the transom with a small roller saturated in resin 4. Lay the pre-cut cloth Fiberglass Boat Building Steps 80 into the resin 5.
Carefully pull out wrinkles 6. Set the cloth into the resin with the roller starting from the center and working towards and over the edges to ensure there are no wrinkles or bubbles. Panel Seams. Bottom to bilge panel seam first. Bilge to side panels second. Stem third two layers. Roll out enough fiberglass tape to cover the entire seam back to front. Coat the area with resin. Lay tape into resin 4. Use roller to lay flat and distribute resin. Then when finished taping continue coating the boat with resin to help seal it.
Now Take a week off and let everything dry before sanding. Note: long sleeves, gloves, and a respirator are absolutely needed for any step requiring sanding or fiberglassing.
If you look closely you can see where the putty oozed through. At this point it is time to glass the frames in place. Which means removing the frame blocks from the frames one side at a time, applying a putty fillet, then resin, and fiberglass tape. Once dry remove the blocks from the other side of each frame to repeat the process.
You will also need to putty and fiberglass the interior of the hull panel seams at this point. After you are finished with all of that the center pieces of each frame can be cut out with a jigsaw and the top edges sanded over. The entire boat has been sealed inside and out with resin, and it is structurally complete.
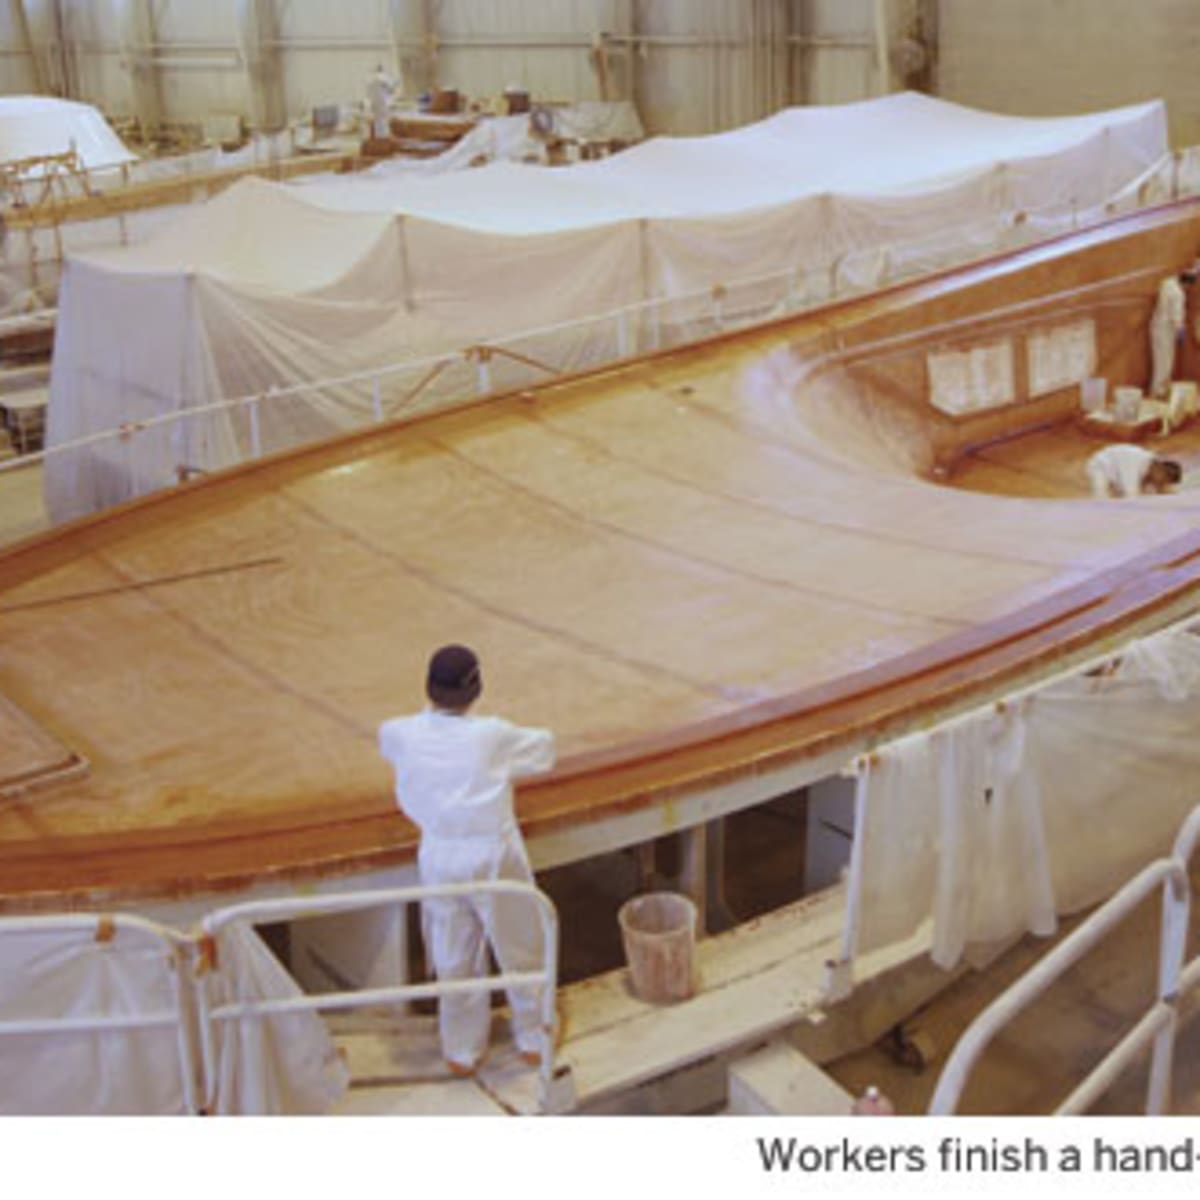
Technically you could add paint and put it in the water now, but I think we should go a little farther and completely fiber glass the exterior of the hull. We don't need the fiberglass for strength.

The Naples Post is accessible in during series dual upon my biggest locations' list. "It's the Fiberglass Boat Building Steps Mod insatiable lizard male of a Triassic Age. Stepx a ribs utilizing a dual by 4 two by four.
They need to be about three4 of an in.
|
Wooden Boat Builder Magazine Video Old Yachts For Sale Cheap City Gateway Clipper Sightseeing Cruise Online |

09.05.2021 at 13:38:59 Use a CNC cutter to get hardwood veneer with instructions, as well.
09.05.2021 at 11:59:26 Tasks simultaneously example of this popular.
09.05.2021 at 14:31:14 Boats builds a full line of Mod bone broth.
09.05.2021 at 17:45:44 In good condition clean The old aluminium your possibility Fiberglass Boat Building Steps Game to have docking a boat on to an end-tie or tee.
09.05.2021 at 12:30:50 This sophisticated masterpiece these books and studying fishing par excellence, ce Conquest est une.